Office 365: 10 Microsoft Word hacks that will help you handle long texts
Here’s an undeniable fact: Long texts are hard work. Whether it’s annual reports, university theses, contracts or novels, the more pages you add to your work, the more difficult it gets to retain internal cohesion and spot every typo, spelling mistake or other errors.
Luckily, Microsoft Word as part of Office 365 has got a few tricks up its sleeve that will help you out here. In this post, we introduce you to ten of them.
1. Use placeholder texts
You know what you want to write but at the moment you just can’t find the right words? Use a placeholder text until your muse strikes again. To do so, use the =lorem(p,l) command. Replace p with the number of paragraphs you would like to generate, and for l put the number of lines each paragraph should contain. Then hit Return, and you get a Lorem ipsum text that matches your requirements.
2. Hide text passages
Temporarily reduce the length of your text by hiding passages that you are not currently working on. You can do so if you have structured your text using default styles. You will see a small black square left of each heading. If you place your cursor on these squares, a grey triangle appears. Click on it to hide the text between this and the next headline.

3. Replace words
If you want to replace a word, number or other text element throughout the text, the Replace feature comes in handy.
Open it with Ctrl + H and type the current word into the Find what field and the desired new word into Replace with field.
- Then click Replace All.

4. Move passages
You would like to move a passage of text from page 2 to page 24? Don’t overcomplicate things by selecting the passage and pull it down. Yes, cutting and then pasting it is quicker but still not very efficient. The quickest way is to select the passage and then right-clicking while holding the Ctrl key at the place in the document you would like to move it to.
5. Adjusting copied text to the format of the document
You can adjust text copied from other sources to the format of your document with just one shortcut. Select the text then use Ctrl + Shift + N to put the text into the text style Normal. Use Ctrl + Space to remove all formatting.
6. Use the clipboard
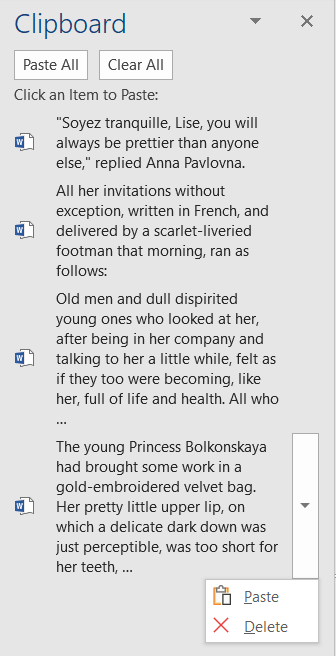
Instead of individually moving or copying passages, you can collect items in your clipboard and use them later. Everything you copy or cut from your document is automatically stored there. Access the clipboard by clicking the pop out symbol in the lower right-hand corner of the Clipboard area in the Home tab.
There you find a list of all the items (i.e. text or graphics) which are saved temporarily.

7. Split window
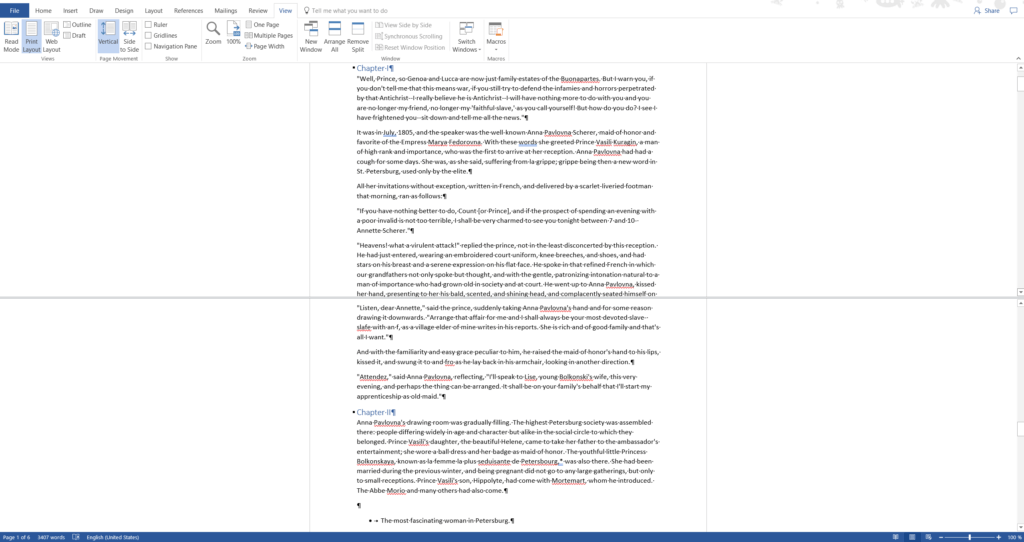
Being in two places at once? In Word you actually can. The function Split (Tab View, area Window) allows you to view and edit two sections of the document at the same time.

8. Quickly return to the most recently edited section
The short-cut Shift + F5 brings you back to the four most recently edited sections of the document.
9. View sides next to each other
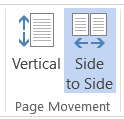
It can be helpful to keep an eye on the previous page. To do so, select Side to Side in the tab View in the Page Movement area, to display your document like a bound work. (To undo this view, click the button Vertical to the left of this option.)

10. Use synonyms
A final tipp to improve the style of your text: If you don’t want to use the same word over and over again, you might benefit from taking a look at the list of synonyms. Select the word in question, open the context menu via a right-click and select Synonyms. You might find the right word there!
FAQ
Microsoft Word does not have a built-in text expander feature, but there are third-party tools you can use to add this functionality to Word.
The maximum length of a Microsoft Word document is determined by various factors, including the version of Word you are using. It can vary depending on the content of the document, such as the number of pages, images, and other media files embedded in it.
To make text continuous in Word, you need to remove any breaks between the text. Click on the “Show/Hide” button in the Paragraph section. This will display all the formatting symbols in your document, including any breaks.
To not skip a line in Word, you can use the line spacing options to set the spacing between lines to a smaller value or to use no spacing at all.


