4 best practices in Microsoft Outlook that’ll save you time
Content
Prioritize your work. Make time for your activities and tasks. Keep track of the time you spend on them. Maintain a neat and tidy calendar. Use (quick) actions to save time. None of these tips are new, really, to anyone who has worked under pressure before – which is most of us, probably. The real difficulty lies in being disciplined about managing routine and time.
Therefore, we’d like to share four of our best practices for using Microsoft Outlook in a way that helps you manage your time better. You may use this article as a checklist of whether all of these tips have already become part of your routine, and as a quick tutorial resource for your bookmarks, because forgetting simple actions is just too easy sometimes.
Block your time.
Blocking time in your Outlook calendar and allocating a specific time period to different tasks and activities will do wonders for your time management. It’ll help you manage your day better, give focus and priority to your work, and let your colleagues know when you’re too busy to meet, or out of the office altogether.
How to block your times
One-off appointments
- Open your calendar, and click Home > New Event to create a new appointment.
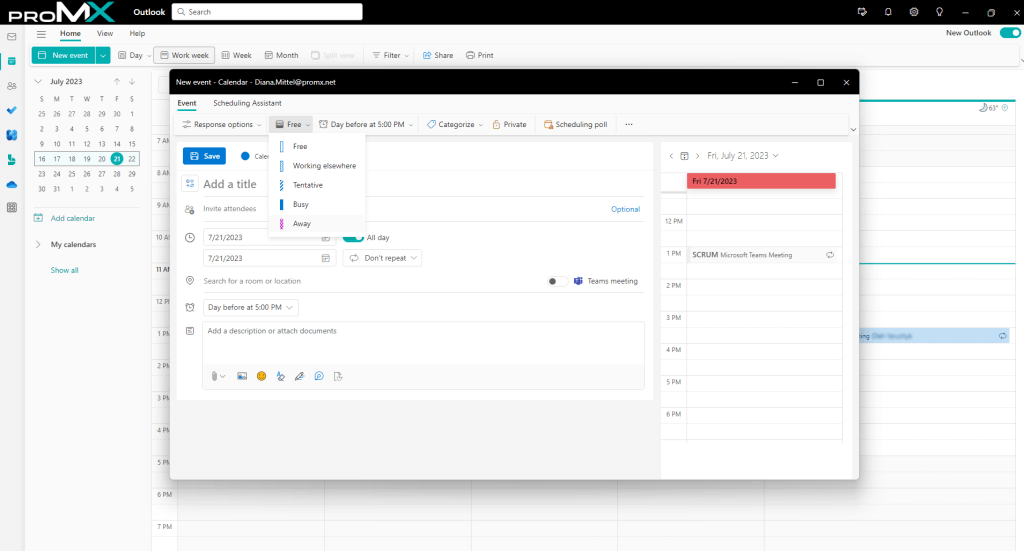
- In the new appointment window, type the subject and location as you need, specify the date range you will have an appointment or take a vacation in the start time and end time boxes, and then check the All day event option.
- Navigate to the Show As drop down list under the Event tab, and select Away.
- Make other changes as you need, and click Save & Close to save the event.
Recurring appointments
- Open your calendar, and click Home > New Appointment to create a new appointment.
- In the new appointment window, type the subject and location as you need.
- Under the Appointment tab, select Out of Office from the Show As drop down list, choose your preferred option from the Reminder drop down list, and click the Recurrence button.
- In the Appointment Recurrence dialog box, do the following:
- In the Appointment time section, specify the lunch time as you need;
- In the Recurrence pattern section, check Daily and Every weekday options;
- In the Range of recurrence section, specify the block date range as you need;
- Click the OK button.
- Make other changes as you need in the appointment window, and click Appointment > Save & Close.
| Tip: If you want your colleagues to be able to view your blocked times, remember to set permission for viewing free/busy information! |
Track your time.
There are numerous compelling reasons for companies to implement a professional time tracking system. One major advantage is the ability to accurately predict the duration of future projects. Additionally, customer invoices become more precise when they are based on actual working hours.
Busy individuals will find a solution that seamlessly integrates with Microsoft Outlook, specifically the Outlook calendar, particularly beneficial. That’s where Mobile Time Tracking for Dynamics 365 comes in, the latest addition to our add-ons for Dynamics 365 for Project Operations.
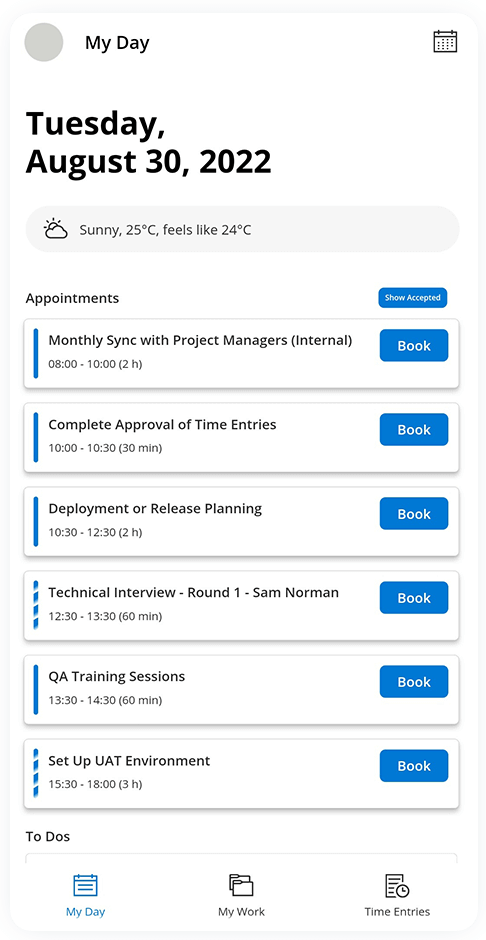
As the name suggests, it’s a mobile app that allows users to easily track their working hours from anywhere. It enables users to not only view their appointments within Mobile Time Tracking but also effortlessly convert them into time bookings with just a few clicks.

How to get Time Tracking
If you want to learn more about Mobile Time Tracking by proMX, we recommend you to visit our website here, and to watch the video below for a more detailed look into the solution.
Filter calendar items.
Your calendar is jam-packed with events? Outlook filters are a feature that rolled out in 2023, and will help you make sense of your schedule again by allowing you to filter and view specific calendar items. It’s perfect if you want to quickly find items like meetings, events, tasks, and reminders, and lets you filter results by date, category, and location.
How to filter calendar items
- Open your calendar, click Filter in the top menu, and choose from the range of options.
- Example: If you lose track of whether you’ve RSVP’d to an event or not, choose Show as > Tentative.
- Example: If you use categories, select Categories, and easily check how much time you’re spending in each one.
Use actions and quick actions.
The last useful feature we’d like to introduce you to are actions and quick actions. They are, as the name suggests, actions you can take on your e-mail, for example replying with an invite, sharing a message into Teams, moving to a folder, or triggering an Outlook add-in. They’re perfect for triaging your inbox, and customizable, too!
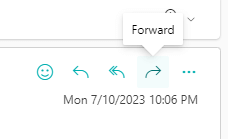
- Actions: Actions appear after opening an e-mail on the top right of the message surface.

- Quick actions: Quick actions appear beside sender names and subject lines in your message list.

How to use actions and quick actions
- All quick actions are displayed on the top right of an e-mail.
- Go to your Outlook settings, select Mail > Customize actions to customize your actions.
- The first half lets you select actions for your message surface.
- The second half lets you select quick actions that appear in your message list.


